0元打造 企業私有網路硬碟
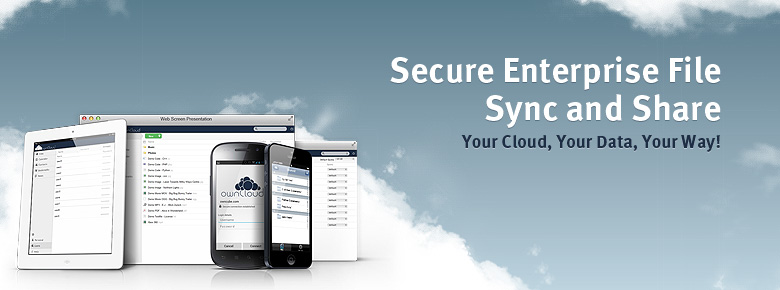
今天跟大家分享如何建置企業內部私有的網路硬碟,最近要幫公司同事建立一個更方便的網路硬碟,找了一堆網路文章,想要好用又便宜,後來被我找到了這套 OwnCloud ,為什麼是他因為它可以支援幾個我需要的功能:
1.共用資料夾
公司內部有好幾個部門,每個部門都需要自己部門的公用資料夾,還有特殊的群組,如部門主管共用資料夾,還有那種誰誰誰要共用,誰誰誰只能讀不能寫,OwnCloud對於權限的控管,相當的不錯.
2.多種裝置 (Multi Device)電腦(跨平台 windows 、Mac 、 Linux) 平板跟手機(IOS 、Android)
3.所有的裝置檔案同步 手機跟電腦或者是你家裡的電腦,你新增刪除修改都是同步的,你辦公室電腦把檔案刪除了,回到家裡,你家裡電腦的檔案,同步後,也會被刪除
因為這三個需求,我決定使用 OwnClouc 來建置公司的網路硬碟,廢話不多說,馬上開始
安裝需求:
1.需要主機一台 (實體主機 ,雲端主機皆可)
2.需要有一個實體的 IP 跟上網的頻寬
3.作業系統版本 CentOS7
安裝主機:
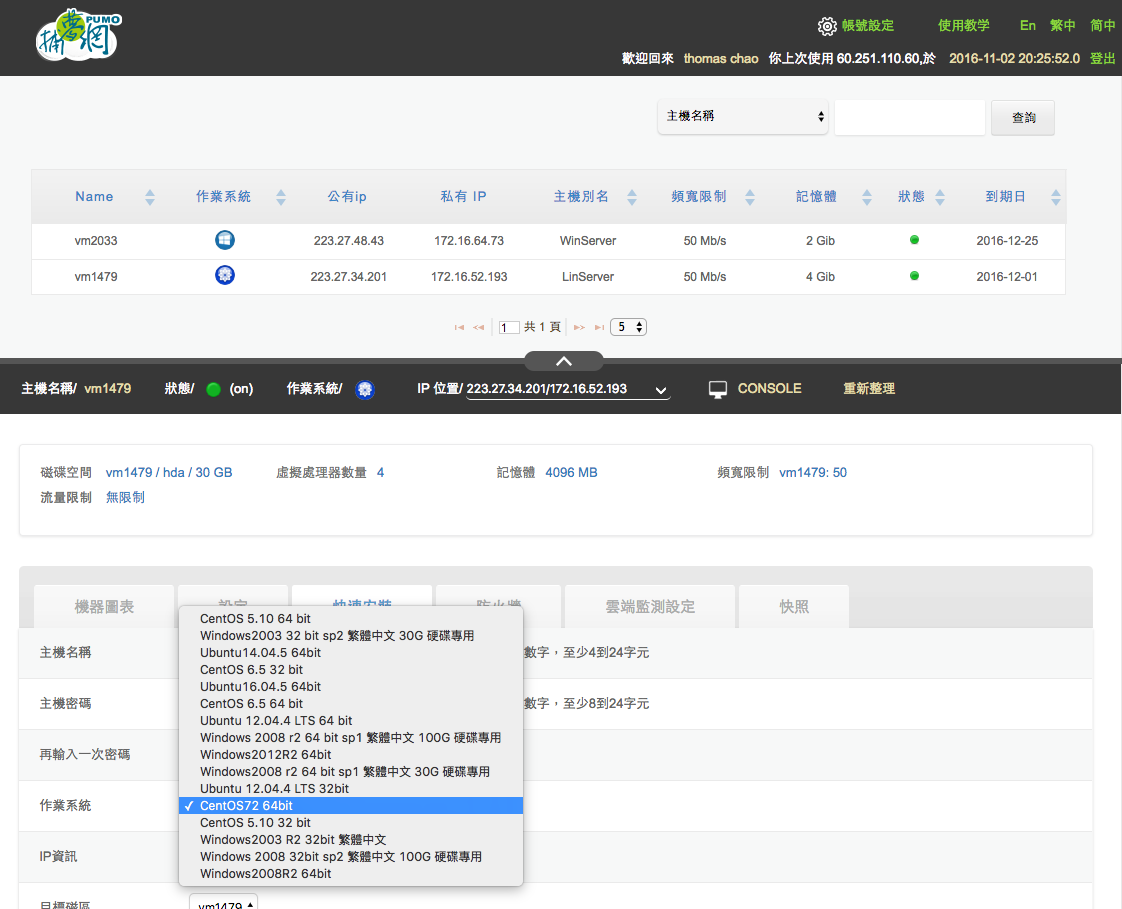
首先開啟一台雲端主機,接著使用快速安裝,安裝CentOS 7 的版本
1.登入捕夢網雲端主機平台

2.使用快速安裝,安裝CentOS 7
ownCloud 在執行前需要安裝的套件如下:
- MySQL/MariaDB
- PHP 5.4 +
- Apache 2.4 with mod_php
- mod_ssl 與 openssl
安裝 MariaDB 5.5
1.執行指令安裝,我們將使用MariaDB 連結OwnCloud 的mysql database
yum install mariadb-server mariadb
2.啟用 mariadb
systemctl start mariadb
3.設定開機啟動 mariadb
systemctl enable mariadb
4.設定 資料庫安全性
mysql_secure_installation
NOTE: RUNNING ALL PARTS OF THIS SCRIPT IS RECOMMENDED FOR ALL MySQL
      SERVERS IN PRODUCTION USE!  PLEASE READ EACH STEP CAREFULLY!


In order to log into MySQL to secure it, we'll need the current
password for the root user.  If you've just installed MySQL, and
you haven't set the root password yet, the password will be blank,
so you should just press enter here.

# 輸入 root 的密碼,如果沒有設定過,直接按 Enter 鍵即可
Enter current password for root (enter for none):
OK, successfully used password, moving on...

Setting the root password ensures that nobody can log into the MySQL
root user without the proper authorisation.

# 設定 root 的密碼
Set root password? [Y/n] y
New password:
Re-enter new password:
Password updated successfully!
Reloading privilege tables..
 ... Success!


By default, a MySQL installation has an anonymous user, allowing anyone
to log into MySQL without having to have a user account created for
them.  This is intended only for testing, and to make the installation
go a bit smoother.  You should remove them before moving into a
production environment.

# 移除 anonymous 使用者
Remove anonymous users? [Y/n] y
 ... Success!

Normally, root should only be allowed to connect from 'localhost'.  This
ensures that someone cannot guess at the root password from the network.

# 取消 root 遠端登入
Disallow root login remotely? [Y/n] y
 ... Success!

By default, MySQL comes with a database named 'test' that anyone can
access.  This is also intended only for testing, and should be removed
before moving into a production environment.

# 移除 test 資料表
Remove test database and access to it? [Y/n] y
 - Dropping test database...
 ... Success!
 - Removing privileges on test database...
 ... Success!

Reloading the privilege tables will ensure that all changes made so far
will take effect immediately.

# 重新載入資料表權限
Reload privilege tables now? [Y/n] y
 ... Success!

Cleaning up...


All done!  If you've completed all of the above steps, your MySQL
installation should now be secure.

Thanks for using MySQL!
安裝 Apache 2.4
1.執行指令安裝 Apache 2.4
yum install httpd
2.啟動Apache 服務
systemctl start httpd
3.設定開機啟動 Apache
systemctl enable httpd
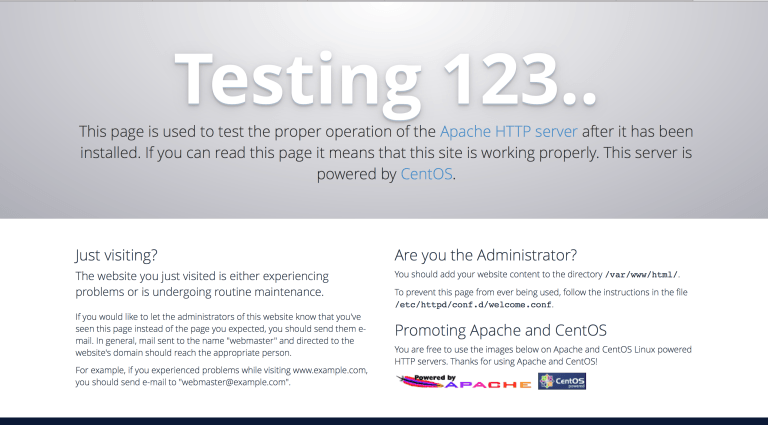
測試 Apache 是否安裝成功,開啟瀏覽器 http://你安裝的主機IP/
如果成功的話,畫面如下:
安裝 PHP 5.5
1.首先安裝 SCL 套件
yum install centos-release-scl
2.安裝 PHP相關模組
yum install php55 php55-php php55-php-gd php55-php-mbstring php55-php-mysqlnd
Copy the PHP 5.5 Apache modules into place:
3.複製 PHP 5.5 Apache 模組 設定檔:
cp /opt/rh/httpd24/root/etc/httpd/conf.d/php55-php.conf /etc/httpd/conf.d/

cp /opt/rh/httpd24/root/etc/httpd/conf.modules.d/10-php55-php.conf /etc/httpd/conf.modules.d/

cp /opt/rh/httpd24/root/etc/httpd/modules/libphp55-php5.so /etc/httpd/modules/
4.重新啟動 Apache
systemctl restart httpd
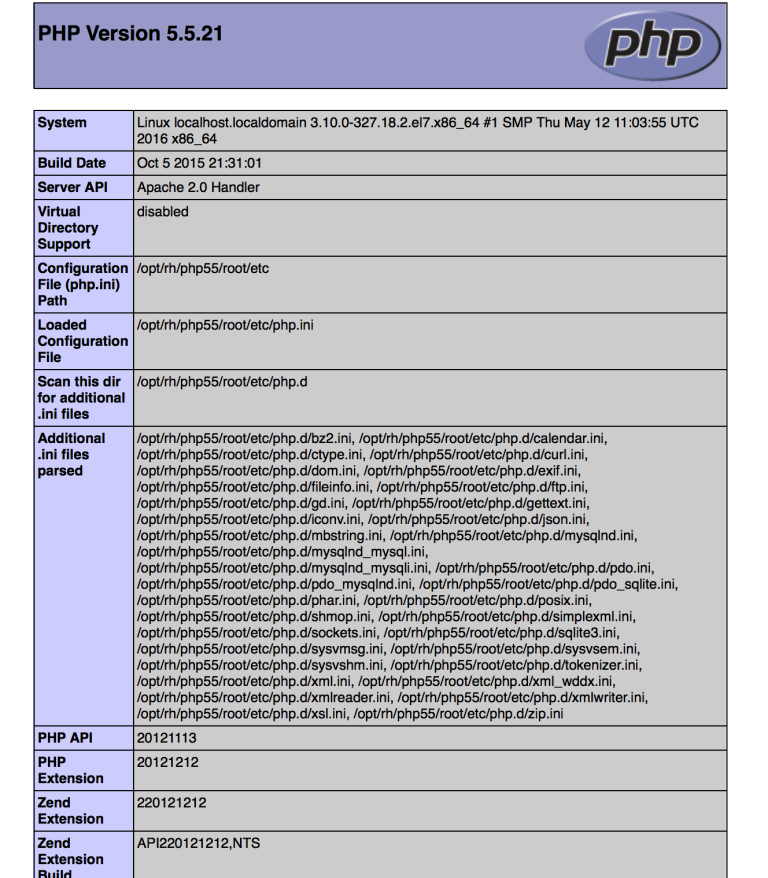
Verify with phpinfo that your Apache server is using PHP 5.5 and loading the correct modules. Create a new file in the httpd directory:
透過 phpinfo 來確認PHP5.5 模組是否載入正常,新增info.php 檔案:
vi /var/www/html/info.php
<?php
phpinfo();
?>
瀏覽下面網址 http://你的主機IP/info.php ,畫面如下:
安裝加密模組,讓檔案傳輸更安全
yum install mod_ssl openssl
我們將會利用 OpenSSL 來產生一張自我簽署的憑證。如果你在一台生產用的伺服器上做這個動作,你應該會想從一個被信賴的憑證機構取得一條金鑰,但假若你只是用在一個私人網站上或作測試之用,自我簽署的憑證已經足夠了。要建立金鑰,你必須是 root 用戶
# 產生私鑰
openssl genrsa -out ca.key 2048

# 產生 CSR
openssl req -new -key ca.key -out ca.csr

# 產生自我簽署的金鑰
openssl x509 -req -days 365 -in ca.csr -signkey ca.key -out ca.crt

# 複製檔案至正確位置
cp ca.crt /etc/pki/tls/certs
cp ca.key /etc/pki/tls/private/ca.key
cp ca.csr /etc/pki/tls/private/ca.csr
警告:如果你採用 SELinux,請確保你複製這些檔案而不是遷移它們。否則 Apache 將會投訴關於違漏了的憑證檔,因為它無法讀取這些擁有錯誤 SELinux 脈絡的憑證檔。
假如你遷移了這些檔案而不是複製它們,你可以用以下的指命來矯正這些檔案的 SELinux 脈絡,因為 /etc/pki/* 的正確脈絡定義已包含在 SELinux 政策裡。
restorecon -RvF /etc/pki
接著我們須要更新 Apache SSL 的設定檔
vi /etc/httpd/conf.d/ssl.conf
請修改路徑至金鑰檔案的儲存位置。如果你採用上面的方法,這會是
原來是 SSLCertificateFile /etc/pki/tls/certs/local.crt
請修改為
SSLCertificateFile /etc/pki/tls/certs/ca.crt
然後在再低數行的位置為憑證金鑰檔案設定正確路徑。如果你按照上面的指引,這會是:
原來是 SSLCertificateKeyFile /etc/pki/tls/private/local.key
請修改為
SSLCertificateKeyFile /etc/pki/tls/private/ca.key
儲存及離開檔案,然後重新啟動 Apache
/etc/init.d/httpd restart
建立網站,如果你要使用網址登入時,請參考下面設定,如果不需要,也可以直接使用IP來登入
一如你為 http 在連接埠 80 上設立 VirtualHost,你亦可為 https 在連接埠 443 上作樣似的設置。一個在連接埠 80 上的網站的典型 VirtualHost 有如下樣子
vi /etc/httpd/conf/httpd.conf
到檔案最下方增加下面內容:
<VirtualHost *:80>
        <Directory /var/www/html/你的網址/httpdocs>
        AllowOverride All
        </Directory>
        DocumentRoot /var/www/html/你的網址/httpdocs
        ServerName 你的網址
</VirtualHost>
為了網站安全,設定網站加密port 443,你需要在你的檔案頂部加入下列內容
NameVirtualHost *:443
然後再加入一個類似如下的 VirtualHost 記錄:
<VirtualHost *:443>
        SSLEngine on
        SSLCertificateFile /etc/pki/tls/certs/ca.crt
        SSLCertificateKeyFile /etc/pki/tls/private/ca.key
        <Directory /var/www/vhosts/yoursite.com/httpsdocs>
        AllowOverride All
        </Directory>
        DocumentRoot /var/www/html/你的網址/httpsdocs
        ServerName yoursite.com
</VirtualHost>
安裝 ownCloud 9 (v9.0.2)
1.執行下列指令進行安裝
rpm --import https://download.owncloud.org/download/repositories/9.0/CentOS_7/repodata/repomd.xml.key
2.下載 yum 安裝檔
wget http://download.owncloud.org/download/repositories/9.0/CentOS_7/ce:9.0.repo -O /etc/yum.repos.d/ce:9.0.repo
3.清除快取,確保你安裝的是最新版本的 OwnCloud
yum clean expire-cache
4.安裝 OwnCloud 套件
yum install owncloud-files
安裝完成後,開啟瀏覽器 http://你的IP或 你的網址/owncloud ,畫面如下

修正權限
1.新增一隻執行檔案,這樣可以快速修改檔案權限
vi /tmp/dirperm.sh
2.貼上下面的內容:
#!/bin/bash
ocpath='/var/www/html/owncloud'
htuser='apache'
htgroup='apache'
rootuser='root'

printf "Creating possible missing Directories\n"
mkdir -p $ocpath/data
mkdir -p $ocpath/assets
mkdir -p $ocpath/updater

printf "chmod Files and Directories\n"
find ${ocpath}/ -type f -print0 | xargs -0 chmod 0640
find ${ocpath}/ -type d -print0 | xargs -0 chmod 0750

printf "chown Directories\n"
chown -R ${rootuser}:${htgroup} ${ocpath}/
chown -R ${htuser}:${htgroup} ${ocpath}/apps/
chown -R ${htuser}:${htgroup} ${ocpath}/assets/
chown -R ${htuser}:${htgroup} ${ocpath}/config/
chown -R ${htuser}:${htgroup} ${ocpath}/data/
chown -R ${htuser}:${htgroup} ${ocpath}/themes/
chown -R ${htuser}:${htgroup} ${ocpath}/updater/

chmod +x ${ocpath}/occ

printf "chmod/chown .htaccess\n"
if [ -f ${ocpath}/.htaccess ]
then
chmod 0644 ${ocpath}/.htaccess
chown ${rootuser}:${htgroup} ${ocpath}/.htaccess
fi
if [ -f ${ocpath}/data/.htaccess ]
then
chmod 0644 ${ocpath}/data/.htaccess
chown ${rootuser}:${htgroup} ${ocpath}/data/.htaccess
fi
3.修改檔案權限,讓檔案擁有執行的權限
chmod 755 /tmp/dirperm.sh
4.執行 dirperm.sh 檔案
/tmp/dirperm.sh

畫面會顯示修正完成 ,畫面如下:
Creating possible missing Directories
chmod Files and Directories
chown Directories
chmod/chown .htaccess
重新整理網頁,你會看到畫面如下:
如果很多人使用的話,為了讓效能更好,可以使用資料庫mysql
1.進入系統執行下列指令,新增資料庫:
mysql -u root -p
Enter password:


CREATE DATABASE owncloudDB;

GRANT ALL ON owncloudDB.* to 'ownclouduser'@'localhost' IDENTIFIED BY 'ENTER_PASSWORD';

FLUSH PRIVILEGES;

quit
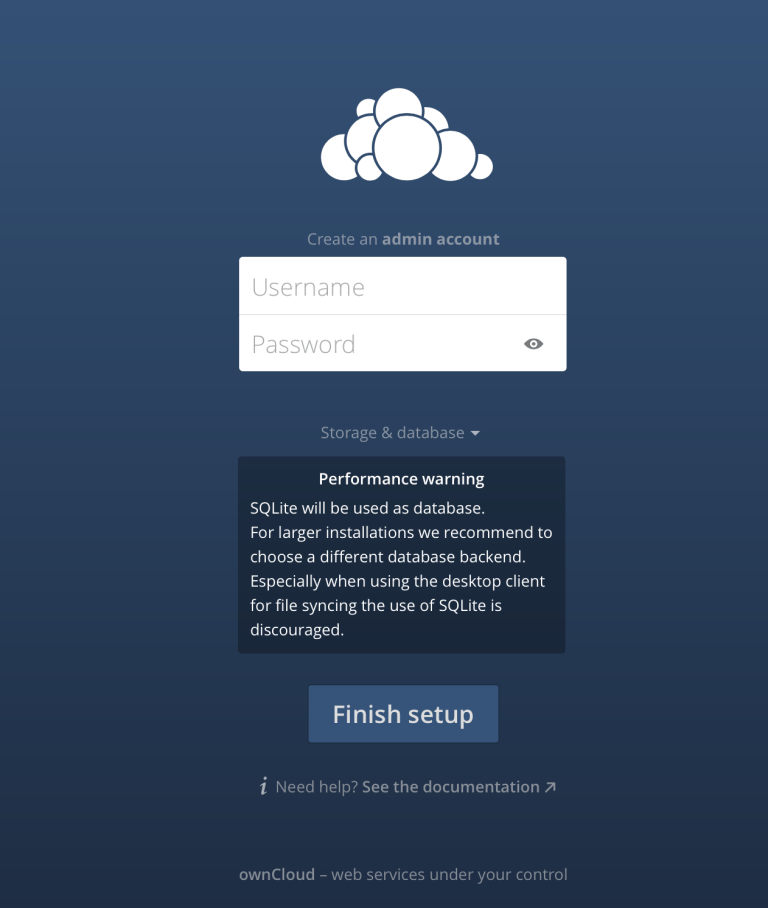
選擇Mysql/MariaDB 與檔案儲存位置 還有新增管理者帳號:
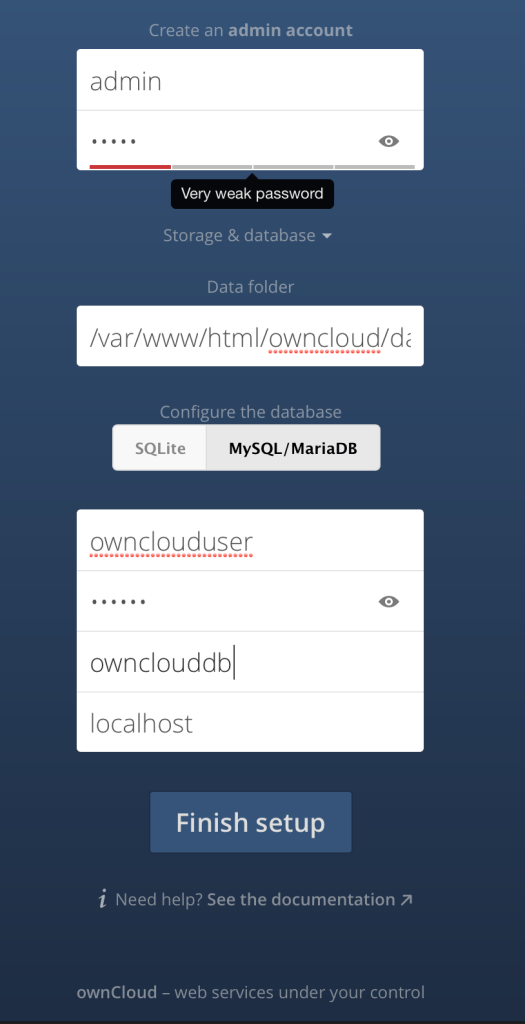
設定完畢後,就可以登入囉,看到這個畫面,雲端的部分就算是完成了
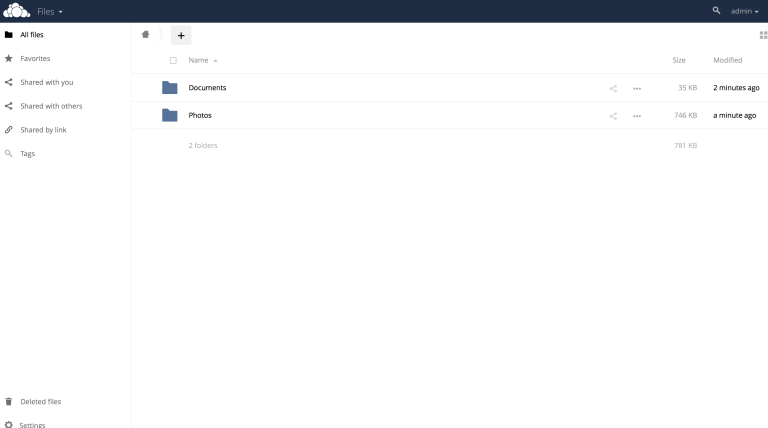
建立使用者後,就可以開始用囉
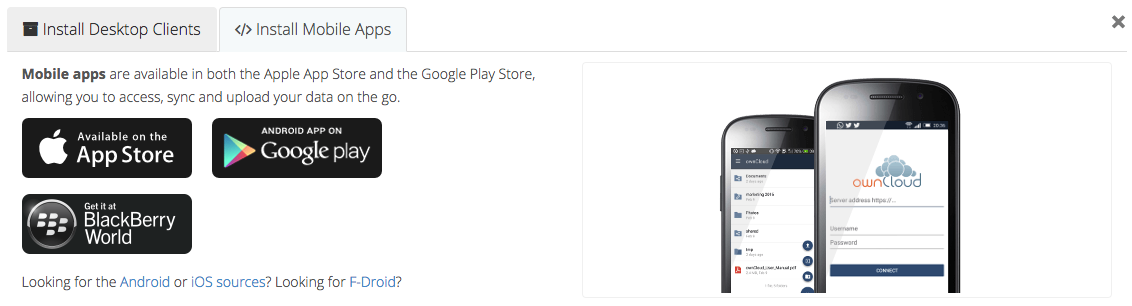
安裝PC端軟體
網址: https://owncloud.org/install/
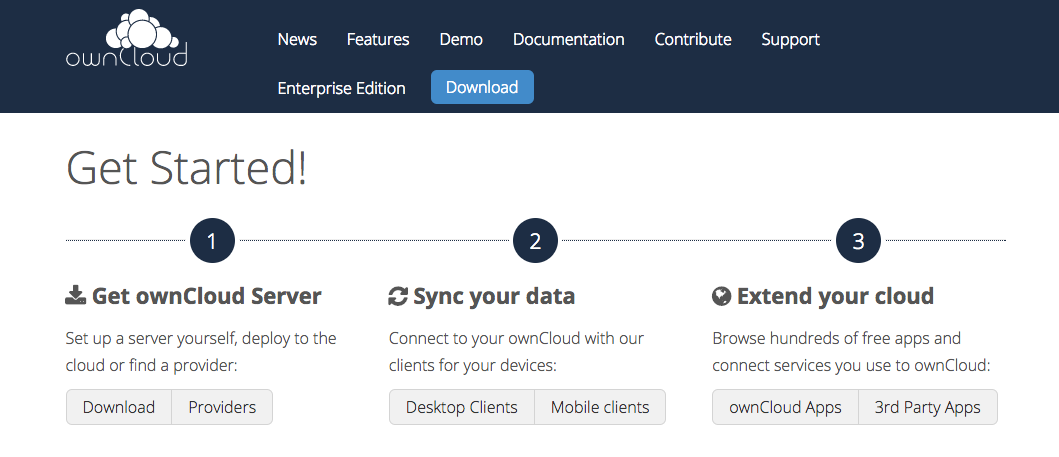
電腦支援 Windows / Mac /Linux 真是太強大了
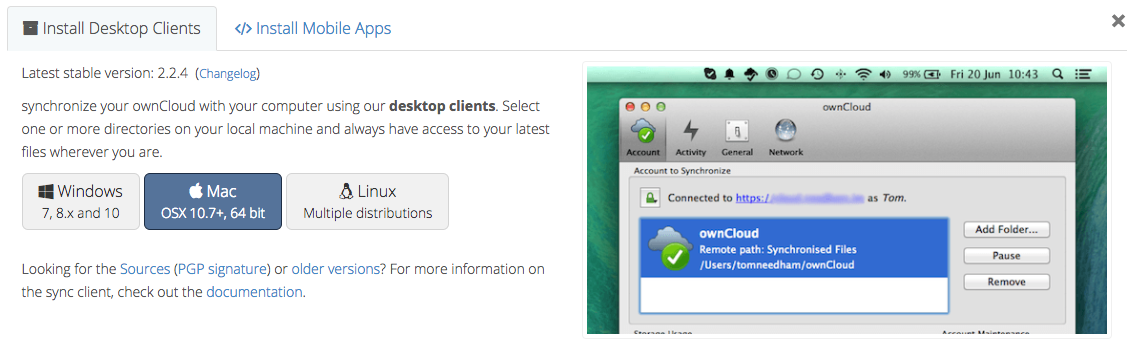
手機支援 IOS / Android/ BlackBerry
我覺得有點小小的遺憾,手機需要30元才能安裝,但是這麼完整的功能,30元好像還可以接受.